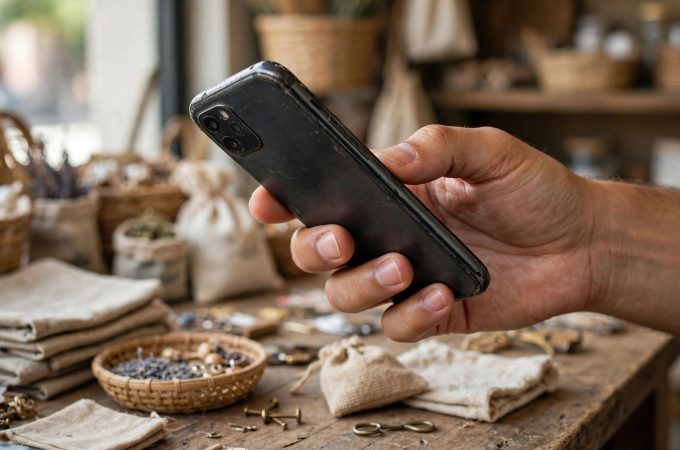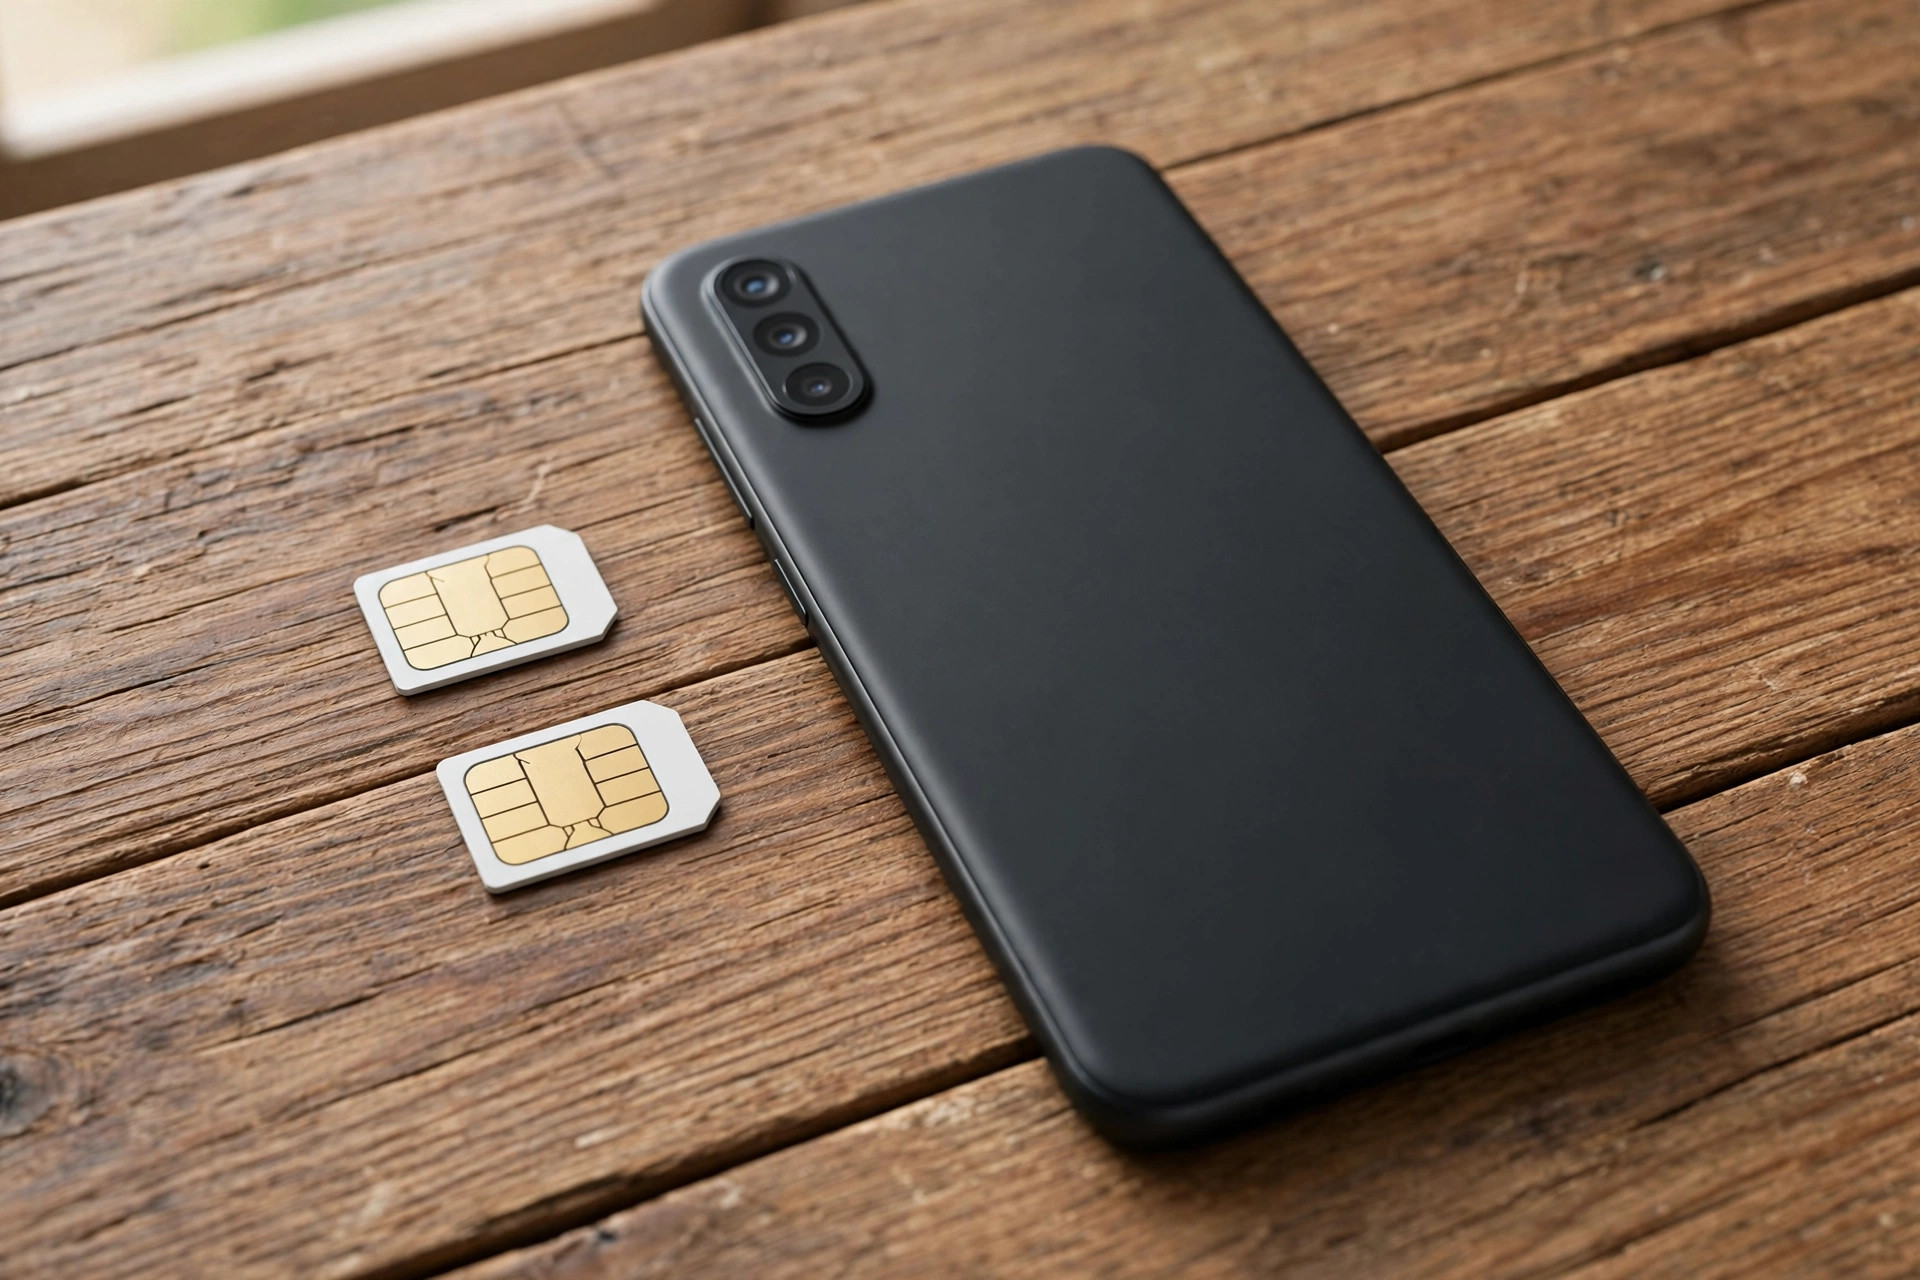
Many people in India use two numbers: one for work and one for personal calls, or one for home and one for a different state where the network is better. A phone with dual SIM and eSIM lets you carry both numbers in one phone, without carrying two phones.
The idea is simple, but the setup can be confusing the first time. You need to know which SIM is for calls, which is for data, and how to switch between them. Once you set that up, it works quietly in the background.
What dual SIM and eSIM actually mean
A physical SIM is the small card you put into the phone. An eSIM is a digital SIM that is built into the phone. You do not put anything into the phone. Your operator sends you a QR code, you scan it, and the number is added to the phone.
Most modern phones in India support one physical SIM and one eSIM at the same time, or two eSIMs. Some phones support two physical SIMs. Check your phone maker's page to see what your model supports, because it varies.
Dual SIM does not mean both numbers are active in the same way at all times. Usually, both numbers can receive calls, but only one can use mobile data at a time. You choose which one. You can change that choice in Settings whenever you want.
A common setup is to use a physical SIM for your main number, and an eSIM for a second number. Or you can use an eSIM for your main number and a physical SIM for a travel or work number. There is no single right way. Choose the setup that is easiest to change later.
How to get an eSIM in India
To get an eSIM, you need to ask your operator. The process is similar for the main Indian operators, but the exact steps differ. In most cases, you send an SMS from your existing number, or you visit the operator's app or store.
For a new number, you can ask for an eSIM when you buy the connection. For an existing number, you can ask to convert your physical SIM to an eSIM. The operator will send you a QR code by email or in their app. You will need to scan that code within a certain time, usually a few hours or a day.
Before you convert, make sure your phone supports eSIM. Go to Settings and look for an option to add an eSIM or add a mobile plan. If you do not see it, your phone may not support it, or it may need a software update.
Do not delete your physical SIM until the eSIM is working. Keep the physical SIM in the phone until you have made a test call and used mobile data on the eSIM. If something goes wrong, you can go back to the physical SIM.
Set up the two lines step by step
First, add the eSIM. Go to Settings > Mobile Network or Connections > SIM Manager, depending on your phone. Tap Add eSIM, and scan the QR code from your operator. The phone will download the plan and ask you to name it. Give it a clear name, such as Work or Personal, so you can tell the lines apart.
Next, set which SIM is for calls, messages, and data. On Android, go to Settings > SIM Manager and choose a default for calls, a default for messages, and a default for mobile data. On iPhone, go to Settings > Mobile Data and choose the default line for calls and data.
A practical setup is to use your personal number for calls and messages, and your work number for data if that plan has more data. Or use the number with the better network in your area for data, and the other number for calls. You can change this later in a few taps, so do not worry about getting it perfect on day one.
Turn on the setting that lets the phone switch data automatically if one network is weak. On iPhone, this is called Allow Mobile Data Switching. On Android, it may be called Smart Switch or similar. This helps when you are travelling and one network is weak.
Test both numbers. Call your own number from the second line, send a message from each line, and use data on the line you chose for data. If one line does not work, check that it is turned on in Settings.
Common problems and how to fix them
The most common problem is that the eSIM does not activate. This often happens if the QR code has expired, or if the phone is not connected to Wi-Fi during setup. Connect to Wi-Fi, ask the operator for a new QR code, and try again. Do not keep scanning an old code.
Another problem is that calls go to the wrong number. This happens if the default line for calls is set to the other SIM. Go to Settings and check which line is set as the default for calls. You can also choose a line each time you make a call, by tapping the line name before you dial.
If mobile data does not work on the eSIM, check the APN settings. The APN is the setting that tells the phone how to connect to the operator's data network. In most cases, the phone sets this automatically. If it does not, check the operator's website for the correct APN, or ask the operator's support.
If you change phones, you cannot just move an eSIM like a physical SIM. You need to ask the operator for a new QR code for the new phone, and delete the eSIM from the old phone. Do this before you sell or give away the old phone.
What to keep in mind for safety
Keep a record of which number is on which SIM. Write it down, or take a screenshot of the SIM Manager screen. If you lose the phone, you will need to tell the operator which number to block.
Checklist
- Phone supports eSIM checked on the manufacturer's page
- eSIM QR code received from operator, phone on Wi-Fi during setup
- Physical SIM kept until eSIM is tested with a call and data
- Lines named clearly, default for calls, messages, and data set
- Both numbers tested, data switching turned on if needed
- eSIM PIN set, QR code not shared, old phone eSIM deleted before selling
Dual SIM and eSIM are useful when you set them up once and leave them alone. Name the lines clearly, choose a default for data, and test both numbers. After that, the phone will handle the rest, and you will not need to carry two phones.

Amelia Brooks
Editorial pen namePractical guides to phones, two-wheelers and gaming from the NewsHoxs desk. Read the bio & browse all stories ↗
See our coverage methodology or send a correction.