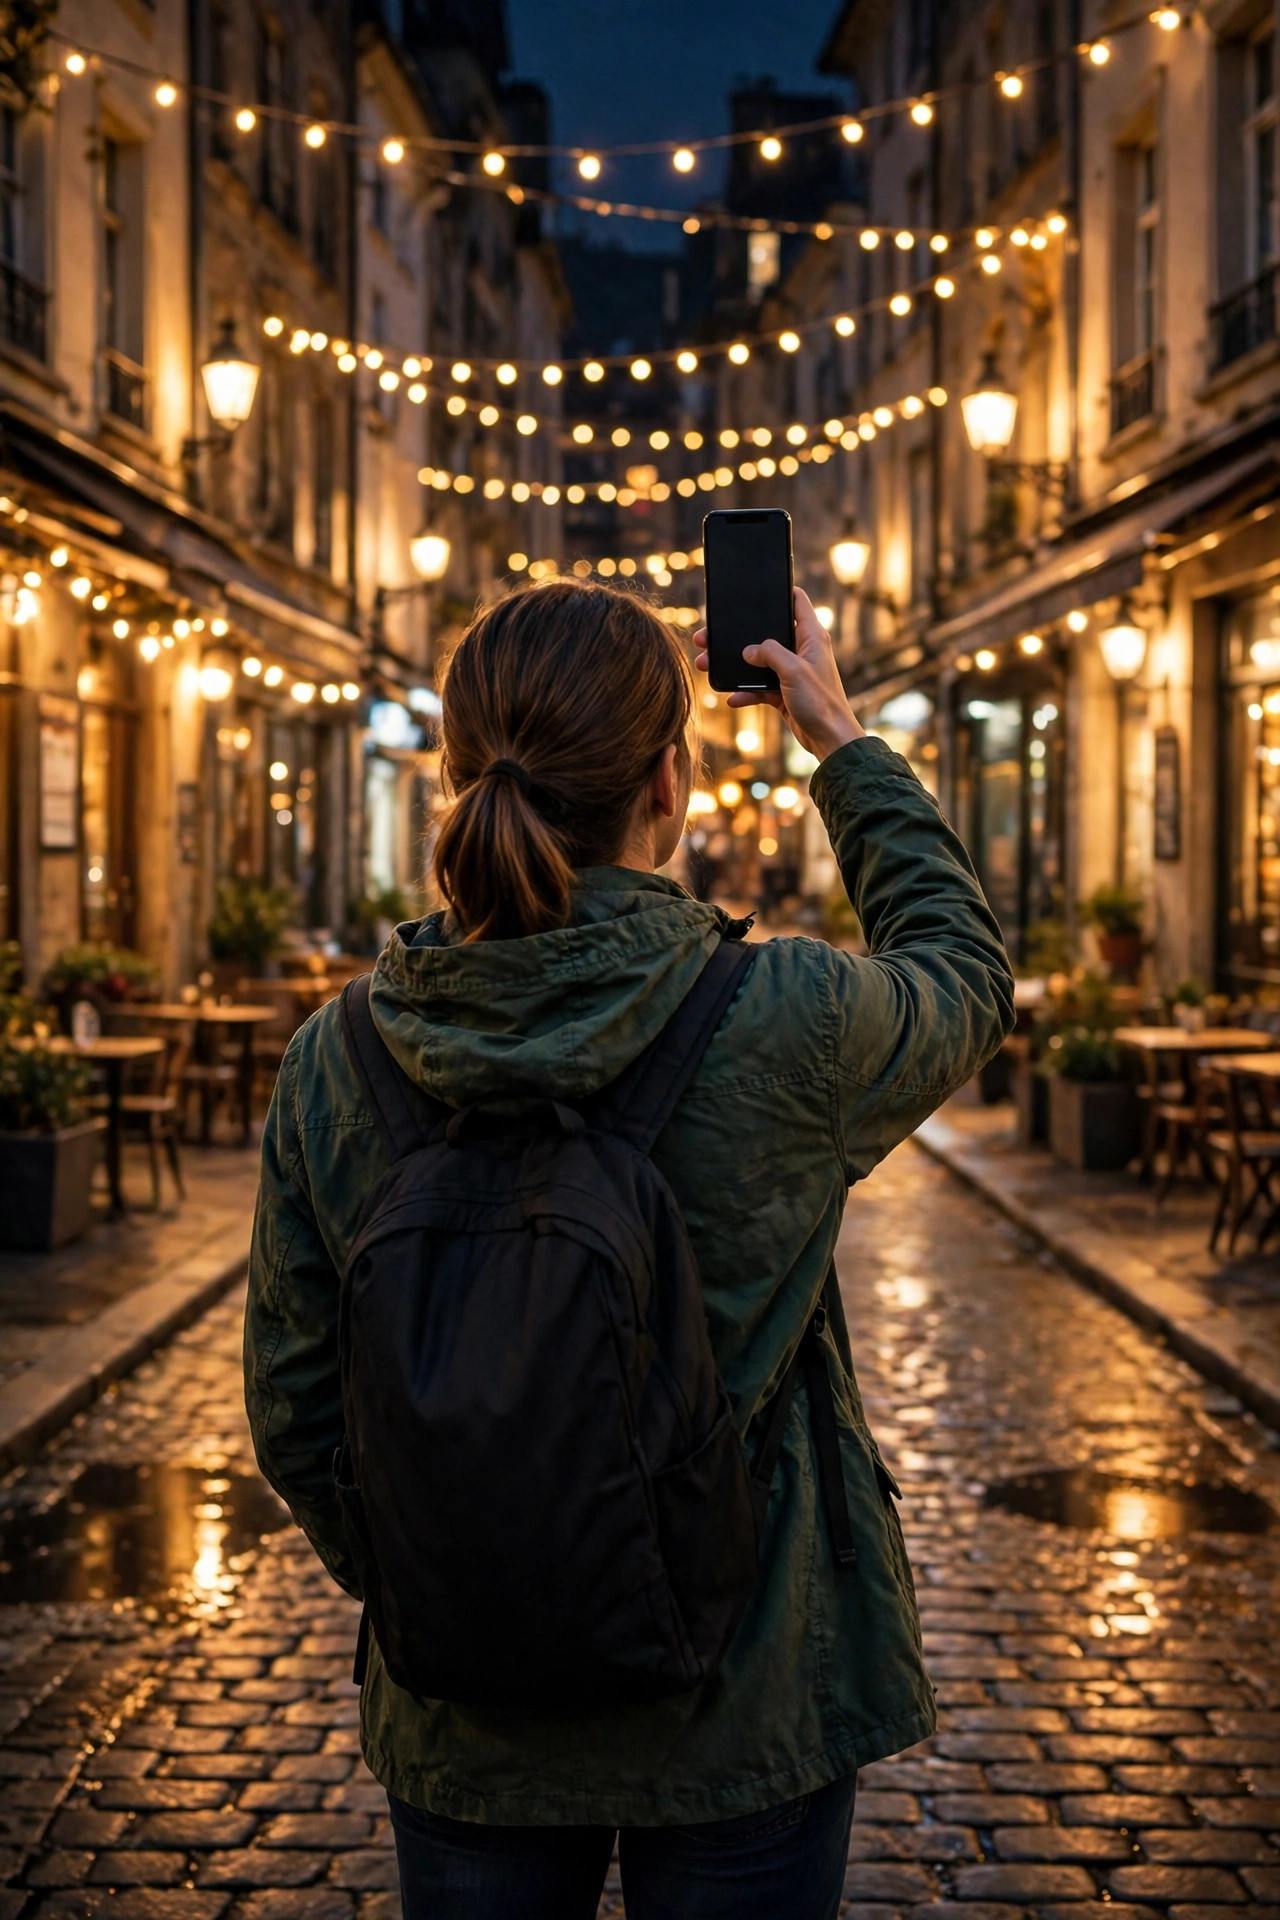
Night photos on a budget phone often come out grainy, blurry, or too dark. The faces are soft, the lights look like blobs, and the colours look washed out. That is normal for a small camera sensor in low light.
A budget phone cannot collect as much light as a larger camera, but it can still take good night photos if you help it. The trick is to give the camera more light, hold it steady, and use the night mode the way it was meant to be used.
You do not need a new phone or an expensive accessory for this. A steady hand, a little light, and a few settings changes will make a clear difference.
Light is the real problem, not the phone
A camera needs light. In daylight, there is plenty of it. At night, there is very little. The phone tries to make up for it by increasing the sensitivity, and that is what makes the photo grainy.
Look for light before you take the photo. A street light, a shop sign, a lamp, or even a phone torch held by a friend can help. Stand so the light falls on the person or the subject, not behind them. If the light is behind the person, their face will be dark.
If you are taking a photo of a person, ask them to stand near a light source. A few steps towards a lamp can change the photo completely. If you are taking a photo of a building or a street, look for a spot where the lights are in front of you, not behind the camera.
Hold the phone steady
At night, the camera keeps the shutter open longer to collect more light. Any movement during that time makes the photo blurry. That is why night photos often look soft.
Hold the phone with both hands, and tuck your elbows close to your body. That is steadier than holding it with one hand at arm's length. Take a breath, hold it for a second, and press the button gently. Do not tap hard, as that can shake the phone.
Lean against a wall, a railing, or a table if you can. That gives you a stable base. If you are taking a photo of a scene and not a person, put the phone on a flat surface — a wall, a bench, or a bag — and use the timer. The timer lets you press the button, then step back, so the phone does not shake when you tap.
Do not walk while you take a night photo. Stop, stand still, and take the photo. That one habit alone will improve many night photos.
Use night mode the right way
Most budget phones now have a night mode. It takes several photos and combines them into one brighter photo. It works, but only if you use it right.
Turn on night mode when the scene is dark, not when there is already good light. In good light, night mode can make the photo look artificial. In dark light, it can bring out details you could not see.
When night mode is on, hold the phone steady for the whole time it is working. The phone will often show a timer or a circle. Do not move until it finishes. If you move, the photo will be blurry.
Do not use night mode for moving subjects. If a person is walking, or a vehicle is moving, night mode will blur them. For moving subjects, use the normal mode and find more light instead.
Clean the lens, and check the settings
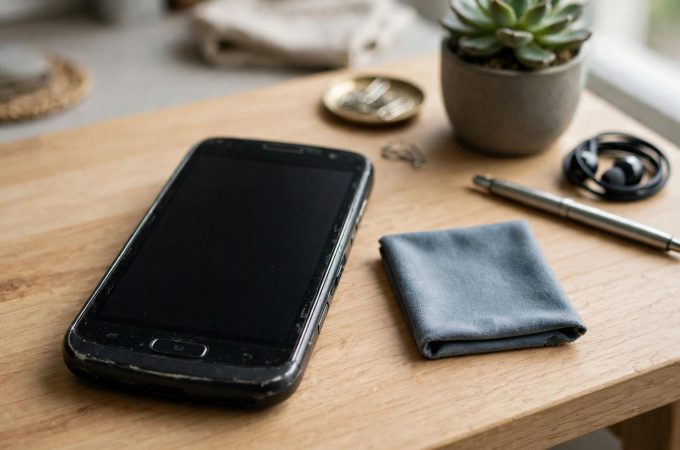
A dirty lens makes night photos worse. A fingerprint, dust, or a smear on the lens can make lights look like stars or blobs. Wipe the lens with a soft, dry cloth before you take a night photo. It takes five seconds and helps a lot.
Check the camera settings. Turn off the flash if you do not need it. Make sure the camera is set to the highest quality. If your phone has a setting for HDR, leave it on for night photos in most cases. It can help with bright lights and dark shadows in the same photo.
Do not use digital zoom at night. Digital zoom crops the photo and makes it grainier. If you need to get closer, walk closer if you can. If you cannot, take the photo without zoom and crop it later.
Take more than one photo. Take three or four of the same scene, and pick the best one later. At night, one photo may be blurry and the next one may be sharp. That is normal.
Edit gently, not heavily
After you take a night photo, a little editing can help. Increase the brightness a little, and increase the sharpness a little. Do not increase them too much, or the photo will look grainy and artificial.
If the photo is too yellow or too blue, adjust the warmth a little. Street lights often make photos look yellow. A small change can make the colours look more natural.
Do not use a heavy filter that makes the photo look like a painting. A light touch is better. The aim is to make the photo look like what you saw, not like a different photo.
Quick checklist
- Find light first, and stand so it falls on the subject.
- Hold the phone with both hands, elbows close to your body.
- Lean on a wall or put the phone on a flat surface for a steady shot.
- Use night mode in dark scenes, and hold still until it finishes.
- Do not use night mode for moving people or vehicles.
- Wipe the lens with a soft cloth before you shoot.
- Avoid digital zoom at night, and walk closer if you can.
- Take three or four shots, and pick the best one.
- Edit gently — a little brightness and sharpness is enough.
Night photos on a budget phone will never look like daylight photos, and they do not need to. With a little light, a steady hand, and night mode used the right way, you can take photos that are clear, warm, and worth keeping. The best night photo is often the one you took slowly, with the phone steady and the light in the right place.

Amelia Brooks
Editorial pen namePractical guides to phones, two-wheelers and gaming from the NewsHoxs desk. Read the bio & browse all stories ↗
See our coverage methodology or send a correction.